What You Need To Know Before Installing A Greenhouse

by

26 January 2023

Energy

Installing A Greenhouse

If you decide to up your game in gardening by widening your space and growing more crops, plants, fruits, and veggies, it’s time to consider investing in a greenhouse. Nothing beats the convenience of harvesting organic ingredients and producing straight from your garden. Not only does this help you save money, but it also allows you to explore more variety of seedlings to grow. 

Greenhouses are an excellent environment for fruits and vegetables to grow in their best state. Because of the safe enclosure, insects and external conditions cannot adversely affect their growth and condition. This safe haven ensures your plants’ nourishment to reap the best quality of produce later on.

However, before installing a greenhouse, you should acquire more knowledge and learn helpful techniques.  Here is everything you need to know before installing a greenhouse.

Type Of Greenhouse Design 

In order to buy or build a greenhouse, you first need to figure out how much-growing space you will need and what type of greenhouse design is best for you. You will have to continue using the same greenhouse for many years, so choose a size that will provide ample space for all the crops you wish to grow and care for. Opt for a reliable greenhouse company that includes installation services.  

Purchasing With Installation Included 

Some greenhouse specialists like Swgreenhouses.co.uk will include installation with your purchase, which means you don’t have to worry about installing it yourself in your own garden, which can save a lot of worries. 

Upon choosing the company or provider, don’t forget to seek advice on what type of greenhouse would best fit your needs and preferences. Here are two types to consider:

Attached 

A lean-to or attached greenhouse offers the advantage of not having to build all four walls. It can significantly reduce greenhouse construction or installation cost. Since the foundation is already within your house, the greenhouse will remain stable and sturdy. Many home gardeners choose this greenhouse option because it’s easier to construct and cost-effective. The ideal area in your home to install an attached greenhouse is to find a place with enough sunlight.
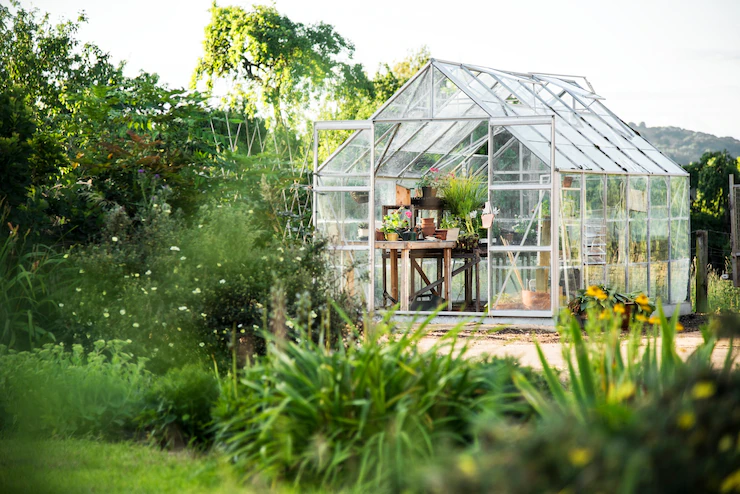
Freestanding 

The other option you can choose is freestanding greenhouses. It is the best bet if you want to place your greenhouse in different locations within your home. While they may require a heftier initial investment, you can see how cost-effective they can be in the long run since you can grow more plants in them. 

It also enhances your curb appeal as they become an extended sanctuary of your home. You can add decor or furniture and keep your greenhouse an additional space to entertain guests or spend time with the family. Because of their multiple purposes, freestanding greenhouses can be an excellent investment.

Consider The Plants You Want To Grow

Consider The Plants You Want To Grow 

Another important step before constructing or installing your greenhouse is deciding the kind of plants you’ll grow. This will help you determine the requirements for growing them and guide you in designing the greenhouse. If you don’t know what kind of plants to grow in your greenhouse, you can’t properly plan the proper temperature or lighting.

To care for your plants and vegetables, you have to factor in their sunlight and water requirement, temperature, humidity, and other factors. Choose plants that are matched to how your greenhouse can supply these elements. Also, note that you’ll need to buy greenhouse tools, equipment, and accessories based on your chosen plants. 

The good news is that you can grow any plant in your greenhouse. This is because the greenhouse’s main benefit is that you can control all these necessary elements to keep your plants strong and healthy. But you will need to decide what types of species grow well together and keep your greenhouse successful and effective. 

Whether you’re thinking of growing spiky plants that can be used to decorate houses or fruits and veggies that can be grown organically, the key is to be familiar with several plant species and their corresponding care requirements. After all, you’ll be able to plan which plants can grow together if you have a broad understanding of the plants you’re growing. 

Choose Your Location 

Choosing your location is important when deciding to invest in a greenhouse. If your greenhouse is near your home, you can visit and monitor it more often. However, if it’s a bit far, you might not be able to care for it frequently. Make sure it’s strategically located somewhere you or your family can easily access.

When choosing the best location, the general rule is to select a place where the sun shines much longer and more often. Thoroughly study and assess your residence, and see where the sun rises and sets daily. Consider these factors when deciding where to install your greenhouse. Find an area where your greenhouse will have protection against strong winds and frost pockets in case these instances occur. 

Light, Water, And Ventilation 

Finally, you have to ensure that your greenhouse will have convenient power sources, water, and air ventilation. This will enable you to install lighting and water fixtures easily. Your greenhouse must meet some requirements regardless of style, size, or construction method. Consider the aspects below:

Electricity 

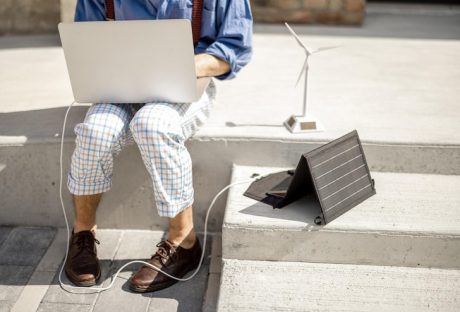
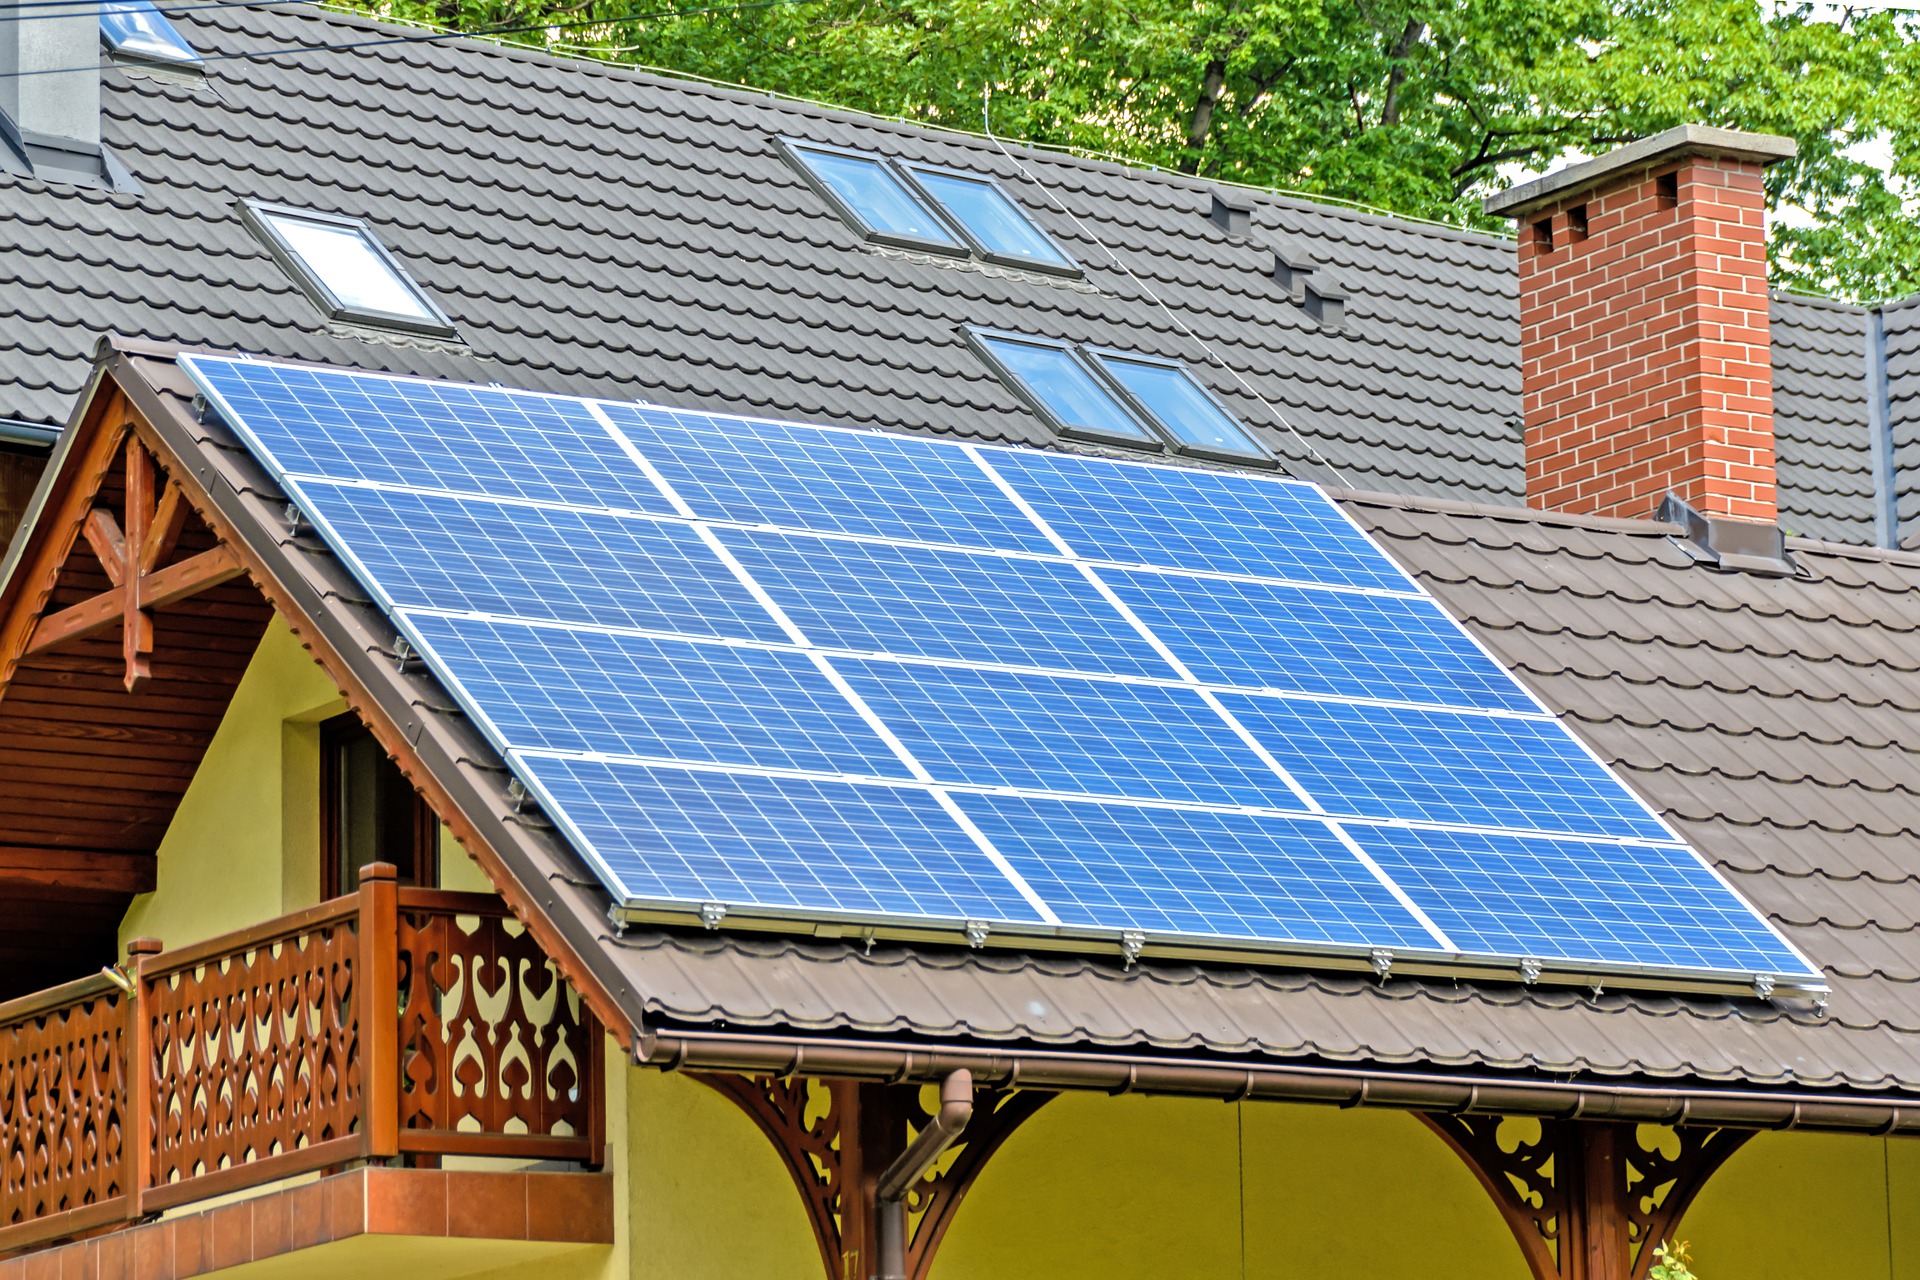
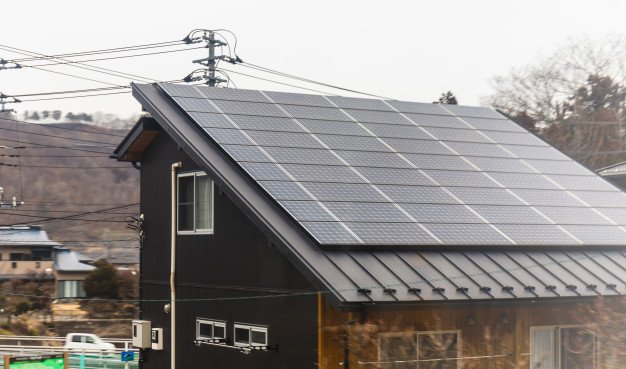
You can control temperature easier when you install fans within the greenhouse. Wire the outlets safely and securely, and acquire all permits when installing a greenhouse. Aside from using a commercial power supply, you can consider installing solar-powered panels to generate electricity for the lights necessary in the greenhouse. 
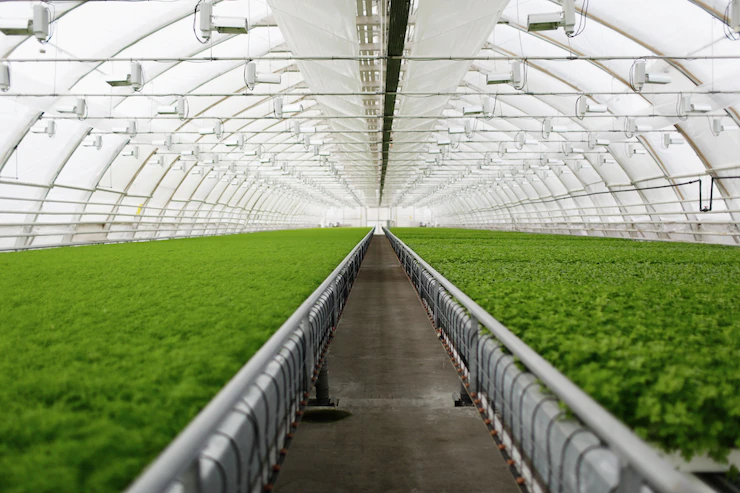
Air Ventilation 

Air ventilation can be increased through the use of indoor greenhouse fans. They help alleviate extreme temperatures and climates. Airflow prevents warm air from rising, whereas cold air gathers below near the plants without airflow. Install fans or roof vents to promote more ventilation. 

Water  

Your greenhouse must have water access. Many greenhouses use garden hoses that are attached to a nearby resource. However, you can also go for automated sprinkler systems, which can be scheduled or turned on manually without having to go through all plants one by one.  

Conclusion 

Your greenhouse investment will ultimately depend on you. You can do it yourself or hire professionals to install them successfully in your home. However, it’s crucial to know the details and aspects mentioned above to make your greenhouse construction project a breeze.

Additional:

Sumona is a persona, having a colossal interest in writing blogs and other jones of calligraphies. In terms of her professional commitments, she carries out sharing sentient blogs by maintaining top-to-toe SEO aspects. Follow more of her contributions in SmartBusinessDaily

View all posts

Leave a Reply

Your email address will not be published. Required fields are marked *

Related

solar panels for outdoor

8 Tips For Choosing Solar Panels For Outdoor Activity

There is no need to carry your heavy, bulky generator anymore. With solar panels from the market, you can now find a way to have a hassle-free trip when you go out.Solar panels for the outdoors are the best thing that you can bring along with you because they will be able to power up your devices while you are outdoors.How To Select The Solar Panels For Outdoor Activity?Solar panels are great for powering small devices like cell phones, GPS units, and hand-held radios. Solar panels can be used for camping, hiking, and other outdoor activities. The solar panels for outdoor activities must be able to withstand some rough handling. 1. Choose The Right Size And Shape For Storage EaseWhen you're looking for solar panels for outdoor activity, the first thing you'll want to consider is the size and shape of the panel. The most common size is 15 inches by 15 inches, but you can also find smaller and larger sizes. If you're planning on using a solar panel in a backpack while camping, smaller size is easier to carry. However, a larger size may be needed if you plan to use the panel in a stationary location or on a boat. 2. Get Flexible Solar PanelsWhen choosing a solar panel, you need to think about your situation and how you will use it. The solar panels for outdoor lights should always be flexible. Unless you are not going to select the portable one, you cannot get the full advantages.For example, if you're going to be camping, you want to make sure you get something that's small, lightweight, and portable. Camping flexible solar panels at Sunyee are going to be the best option for outdoor activity.Flexible solar panels are the best choice for outdoor activity. The reason is that flexible solar panels are very light, strong, waterproof, and can be bendable to about 180 degrees. This is the coolest thing about flexible solar panels for the outdoors. In the past, you could only find rigid solar panels for sale. They were heavy, noticeable, and not very portable. Due to the advancement in technology, flexible solar panels are now made. They are very light, portable, and durable. The best part is that they can be folded and carried around easily. 3. Understand The Different Types Of Portable Solar PanelsJust like any product, there are different types of portable solar panels to choose from. Each of these comes with its own set of advantages and disadvantages. Understanding them is the key to choosing the right one for your needs. The first thing which you should consider while selecting solar panels for outdoor and their capacity. This is measured in watts. The higher the capacity, the faster your gadgets will charge. The second thing to consider is the material used to make the panel. Generally, portable solar panels are made of silicon and aluminum. Each of these comes with its own pros and cons. Silicon panels are more expensive than aluminum panels but are also more durable. Aluminum panels are cheaper but are not as durable.There are many different kinds of solar panels to choose from. You can choose between monocrystalline, polycrystalline, along with thin film solar panels.Monocrystalline panels have higher energy efficiency with a lower amount of weight than polycrystalline panels. Thin film solar panels are the lightest, but they are also the least efficient. 4. It Should Be Compatible With Your ElectronicsAnother thing you need to consider when choosing a solar panel is if it's compatible with your electronics. There is a wide range of solar panels for outdoor available on the market, and each of them may be compatible with different electronics. If you own a smartphone or tablet that is not compatible with solar power, you can always buy one with a bigger capacity. Most solar panels are compatible with multiple devices; just remember to check the specifications before you buy one. 5. Check How Long It Takes To Charge And Remains Without ChargeIf you are going to use a solar panel for outdoor activity, say camping, hiking, fishing, etc. The battery should be able to charge fully, which means at least 8 hours (for those with a low-capacity battery, it is better to bring a solar charger). But it is better to have solar panels outdoors that can remain at no charge for over a month, which means the battery should be at least 20,000mAh capacity. When purchasing replacement solar panels for outdoor lighting, the battery capacity is the first thing that you must check.For example, small solar panels for outdoor lighting are more like a decorative part, so when you are starting to add these to your garden, you should always understand what the life span is and how long it will take to get the full charge.6. Consider the priceSolar panels are a great option for powering outdoor gear and cutting down on the costs of outdoor activities. You can power all kinds of things with a solar panel. The biggest concern is being able to power what you actually want to power. You'll need to know the wattage of the device before you can start looking for solar panels.The cost of solar panels is one of the main concerns of people who want to install solar but are not sure if it is worth the investment. The price of solar panels and related equipment can put a big dent in your pocket. But it is also true that solar power is one of the most cost-effective ways to produce electricity. So, if you are planning to install solar panels outdoors, you have to decide how much you are willing to spend. 7. DurabilityDurability is the first thing you need to consider when choosing solar panels outdoors. Solar panels are not cheap, and you don't want to make a bad investment. It is very important to check the glass on the panel. It should be durable and thick, made of tempered glass that is scratch resistant and won't crack under pressure. The glass needs to be strong enough to withstand wind and to keep the solar panel protected. The panel frame should have a good warranty and be sturdy, but most importantly, it should be made of rust-resistant material. It must be able to withstand the elements and keep the solar panel safe from rust. The whole frame needs to be strong, not just the legs. A good warranty is also very important, don't settle for less than 25 years. 8. Setting upWhen choosing your solar panels for outdoor, the most important factor to consider is how easy it is to set up. If you are going to be using your solar panel for outdoor activity, it will most likely be set up in a place that is not easy to reach. You don't want to be carrying a heavy solar panel with you while you are hiking or camping. It would help if you also were looking for a solar panel that is light enough to carry around your neck. There are a bunch of solar panels out there that are pretty much ready to go. Just unroll your solar panel and put it in the sunlight.Wrapping It Up:These are the qualities that you must check before selecting solar panels outdoors. Outdoor solar panels are not only user-friendly.These solar panels are the ultimate solution for any place where frequent power cuts happen. Which types of quality do you match up with while selecting any outdoor solar panels? Let us know through the comment sections.Read Also:Prepare Your Solar Panels for the Fall10 Steps To Take To Set Up Solar Panels At HomeHow Much Do You Save With Solar Panels? The Ultimate GuideWhat You Should Know about Solar Energy for Schools Benefits

READ MOREDetails
Solar Incentives

What Are Solar Incentives?

In a bid to put an end to global warming, more and more technological inventions are tilting towards promoting the sustenance of the environment; which is practically the main reason why the solar panels are invented as a means of producing electricity in the first place. To get more people on board to subscribe to this new means of producing power, measures were put in place; in which one of them is to allow the owners of the solar panels to enjoy certain privileges, which are loosely called Solar Incentives.So you ask, What Are Solar Incentives? This is a measure put in place to ensure that owners of the solar panels enjoy certain benefits, just by installing and using the product. These solar incentives have led more people to subscribe to the idea of installing and using the panels for their homes and business; because not only is it profitable to the environments, it is also profitable to their finances in the long run.The following are some of the Solar Incentives there is: 1. Solar Investment Tax Credits: Of all solar incentives available, this is the one that is commonly known. In this case, Solar owners benefit by having the privilege, as made possible by the federal government, to take out a portion of the cost of the solar panels from their taxes. What that means is that the cost of the system is being subsidized by a certain percent, from your taxes. The common investment tax credit percent is 30% of the cost of the solar panel system. Enticing isn’t it? So, if the solar panel system costs $10,000, you are only paying 70% of that amount, with the remaining 30% already footed for from your taxes.The only twist to this is that to be able to claim the investment tax credit, your taxable income should be higher or equivalent to the investment tax credit. 2. State Tax Credit: This is basically similar to the federal investment tax credit, only that this time, a small portion of the cost of the solar panel system can be deducted from your state tax bill, relieving you of some costs that would have been invested in purchasing of the solar panel system. The only twist to this is, unlike the federal tax credit, this is not applicable to all states; only residents of some states are privileged to enjoy this package.For those that could enjoy this package, they could end of saving about 50% of the cost of the solar panel, making it easier for them to purchase the solar panel system and enjoy its benefits. 3. Solar Renewable Energy Certificates (SREC): The New Jersey’s Solar Renewable Energy Certificates (SREC) program have made it possible for residents in new jersey that have acquired and installed the solar panel system to enjoy a special kind of solar incentives called certificates – though this is not exclusive to new jersey alone.You may be asking, what are Solar Renewable Energy Certificates?These are a type of solar incentive that allows owners of a solar system to sell the certificates to their utility. By standard, if you can generate 1000 kilowatts hours (kWhs) from your solar system, you are eligible to get one SREC; and an SREC is worth at least $300. Now imagine how much that figure can rise up to if you can make 6000 kilowatts hours. Let me just leave you to do the mathematics yourself.If you were once unsure about purchasing a solar panel, this should make you change your mind. 4. Net Metering: It is common knowledge that some owners of the solar panel system produce more than they can consume, in which they decide to store the overflow in an On-site battery. What if I tell you that instead of storing that in an on-site battery, you can sell to your local utility company and get returns which can be used to foot other bills. Amazing deal, isn’t it? I can bet you think it is.That’s basically what Net Metering is all about.So in days, you create more electricity beyond what you can consume with your solar panel system, instead of hoarding it in your battery, you are given another opportunity to get returns for it. Think about the future energy bills and other bills you can foot by selling excess power produced by your system. 5. Cash rebates: These are basically cash backs for the owners of the solar panel systems. It could come from different parastatals – like the government, utility company etc. – that are concerned about promoting the use of solar energy. This could also help subsidize the cost of the solar system.With the aforementioned solar incentives available, the idea of investing in the purchase and installation of a solar panel system is becoming more appealing. What are Solar Incentives? I hope this article has done justice to answering that question.Read Also:Prepare Your Solar Panels For The Fall Everything You Need To Know About Portable Solar Power What You Should Know About Solar Energy For Schools: Benefits, Expectations, And More

READ MOREDetails
Solar Panel

10 Steps To Take To Set Up Solar Panels At Home

Solar panel has become increasingly popular in the past few years. This is partly driven by how environmentally friendly it is, although many people have noted how economical it can be too. Despite being a smart decision for lowering energy bills, potential users can be put off by its installation costs.This shouldn't be an issue, as installing solar panels at home can be much easier than people might expect. As long as you have some DIY electrical knowledge, then you should be able to install the panels yourself.As Gem Energy Brisbane Solar Power notes, there are a number of steps that you'll need to take when installing a solar panel at home. Steps To Take To Set Up Solar Panels At Home 1. Calculate Your Electrical Load: Before you decide on anything, you should calculate your current electrical usage. Once you've done so, you'll then be able to determine which solar panels and other parts you'll need. This is relatively simple to do, and often only requires a bit of math, plus an energy reading from your meter. 2. Battery Selection: Which battery you choose can be vital for your solar power. Naturally, the panels only generate electricity during the day, so you'll need to store some for the night. To do so, you should choose a high-quality one that provides a consistent amount of electricity over time. This will make it reliable when you're running several appliances during the evening. 3. Select Your Solar Panels: There are a considerable number of solar panels to choose from, which can be overwhelming. When you're deciding on one, you should look at its energy rating. This is typically determined based on set conditions, with some being more appropriate for certain weather. As a result, you should research how well a model will perform in your area. 4. Know Where To Place It: When you're considering a solar panel, you should determine where the best place on your property to put it is. There can be a few factors at play here, with access to sunlight being the most notable. The obvious place to install the panel is your roof, although you'll need to decide where to place it here. 5. Choose A Charge Controller: This is a device that's placed between your battery and solar panel and regulates the flow of electricity between the two. Choosing the right one can make a large difference, as it dictates how effectively your battery will charge. This means that you should spend a considerable amount of time picking one. 6. Pick The Right Inverter: Solar panels typically turn sunlight into alternating current (AC). However, most appliances function on direct current (DC). As such, you'll need to purchase an inverter, which switches from one to the other. There are a few types of inverters to choose from, each with its benefits. As such, you should spend time researching each. 7. Mount The Solar Panel: Once you have the equipment, it's now time to mount the solar panel. You can either create your own mounting mechanism or purchase a premade one. If you're not overly familiar with the process, then it's recommended that you buy a kit. When creating your own, be aware of the angle that you're mounting it at, as this will affect how much sunlight it receives. 8. Inverter & Battery Stand: Similar to the solar panel itself, you may need to build a stand to hold your battery and inverter. However, this isn't a complicated task, as you'll be able to make do with a box that includes a hole for the wiring. Once everything has been wired, it's important to note that you should cover this hole as much as possible to keep everything from being damaged. You should also ensure that it's kept away from running water. 9. Start Wiring: The wiring may be the most overwhelming part of the process, although it can be more straightforward than you think. Put simply, the connection should go from the solar panel to your charge converter to your load, i.e., your appliances. Alongside this, the charge controller should be connected to your battery, which should also be connected to your load. 10. Start Enjoying Your Solar Panel: Once you've connected everything in the appropriate manner, you can start enjoying your solar power. While setting everything up, you should ensure that you've done so in the right way. The wiring is the most important area here, so you should take care of it.Read Also:What You Should Know About Solar Energy For Schools: Benefits, Expectations, And More

READ MOREDetails